You may be wondering why my first home-brewing post is about bottling.
Well, the truth is that I started this blog in the middle of fermentation and bottling day happened yesterday so it’s fresh in my mind.
We are currently working on a Fruit Bazooka NE IPA, using a recipe kit from Northern Brewer. (I highly recommend their recipe kits for new brewers, they give you all the tools you need to have a successful brew).
In this post I will highlight the basic steps, tips and tricks, and some of my favorite supplies for bottling day. Mostly all my supplies come from Northern Brewer if you are looking to purchase some yourself.
STEP 1: CLEAN AND SANITIZE. — as all brewers know…the most important step for a successful brew – CLEAN ANY EQUIPMENT THAT WILL TOUCH YOUR BEER (tubing, bottles, bottling bucket, siphoning equipment – or transfer pump, bottle caps, bottle filler, etc.)
Cleaning
- Before sanitizing I alway clean my equipment to remove any dust or particles that may have gathered while being stored in my basement.
- For cleaning I use the Oxi-Clean versatile Stain Remover (no dye, no perfume, chlorine free)
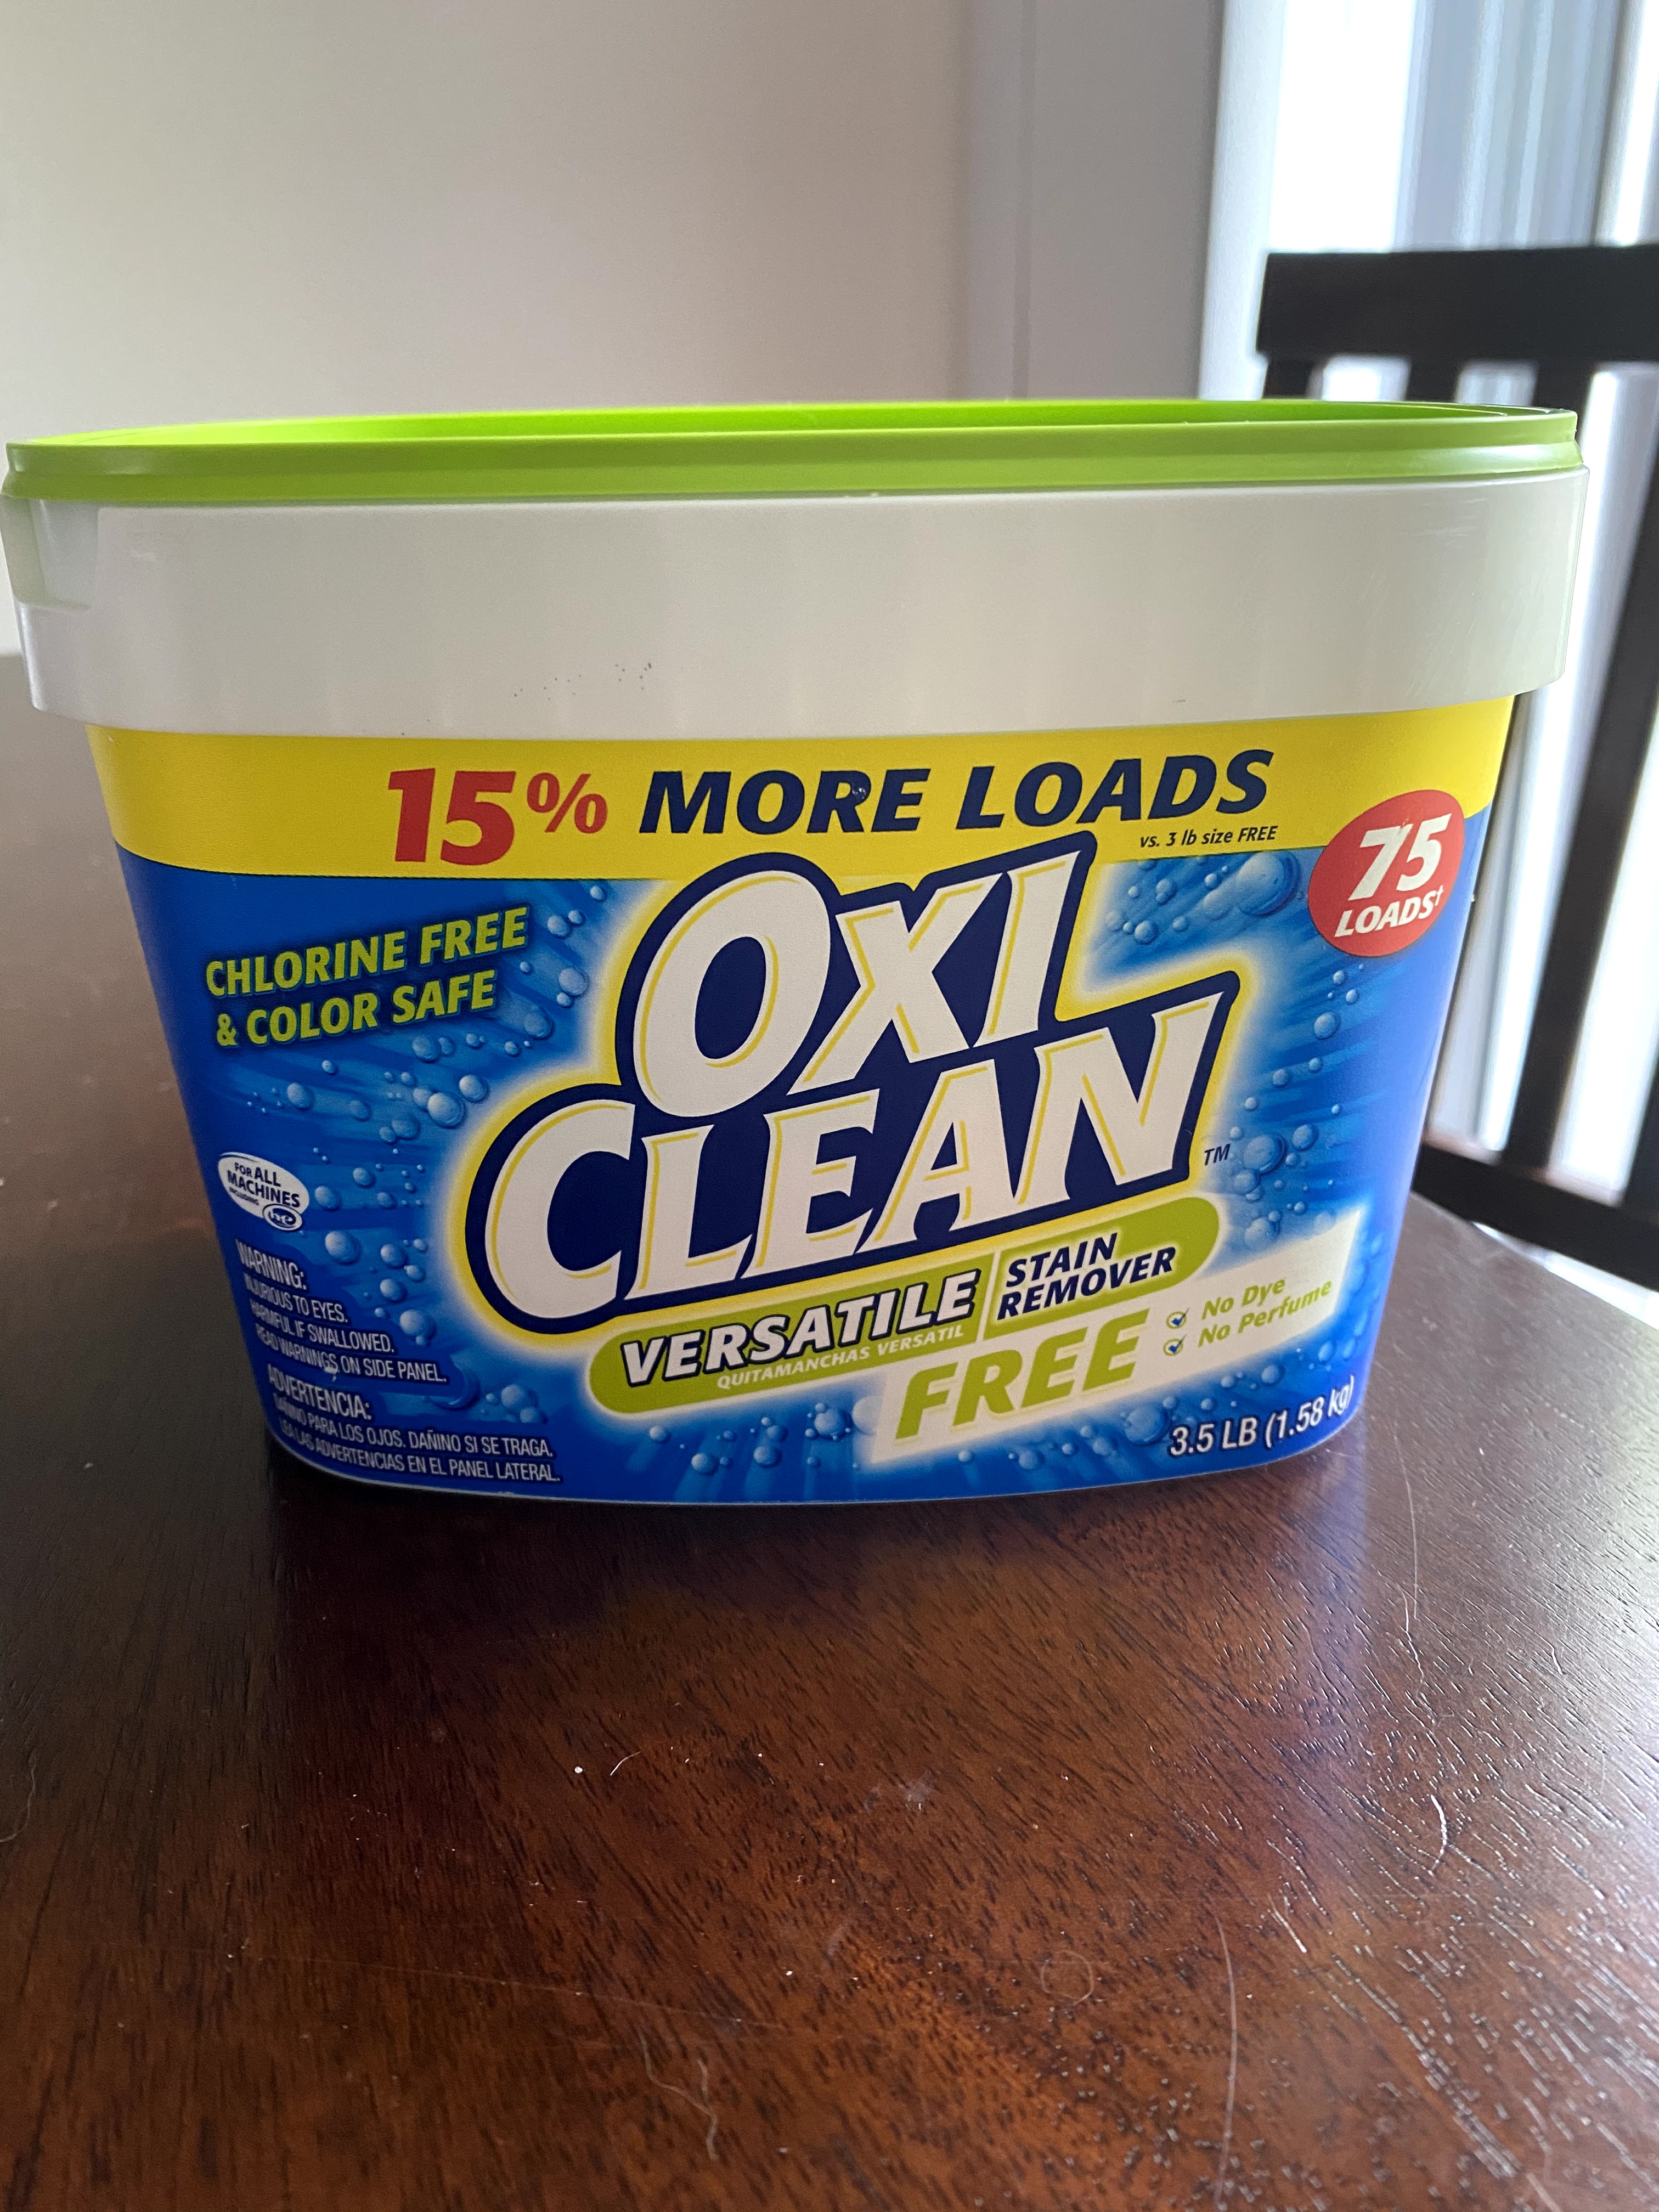
- I know it seems strange to be using something meant for laundry on your brewing equipment but it is totally safe and is used by many brewers. And it will leave your equipment cleaner than clean…it’s impressive.
Sanitizing
- Cleaning is not enough. You must sanitize as well.
- I use Star San for sanitizing my equipment
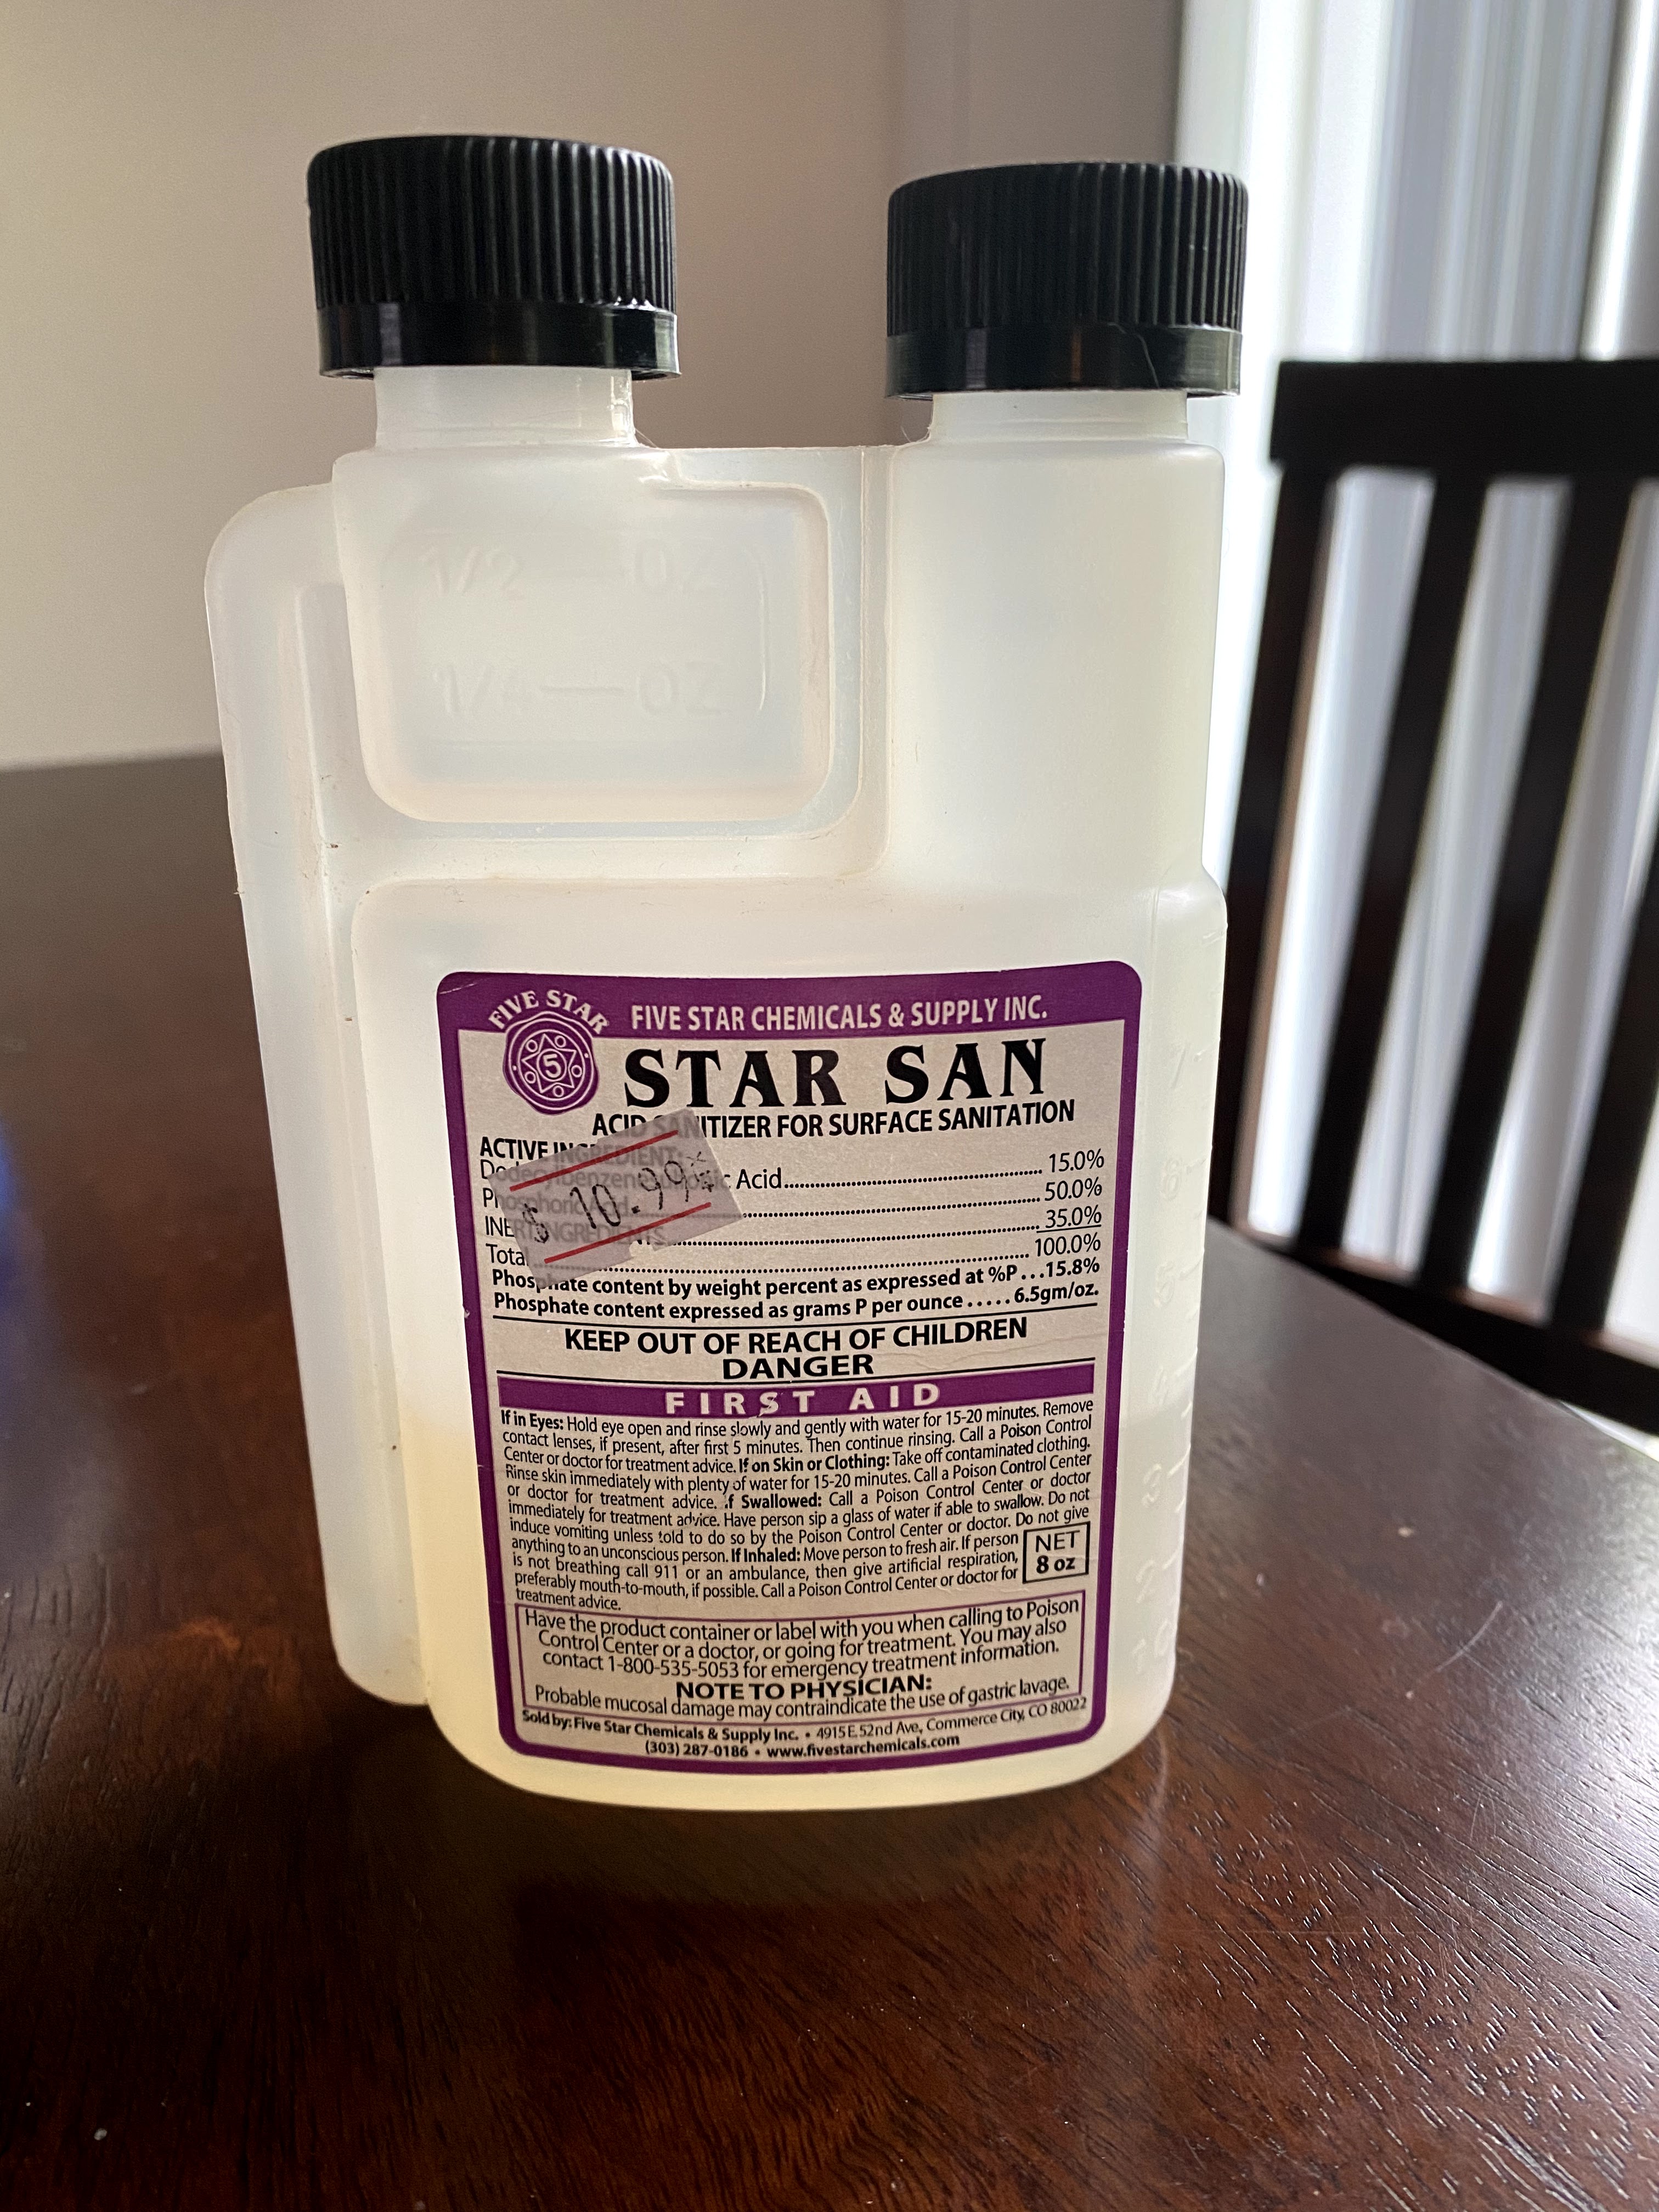
- I like Star San because it is cheap, easy to use, and will last through many brews. You do not need a lot of this liquid to go a long way with sanitization.
- Star San does produce a soapy looking foam – however, you do not need to rinse this off. Star San is meant to be a NO RINSE solution and the foam bubbles will not harm you or alter the taste of your beer.
Other Sanitizing & Cleansing Tips
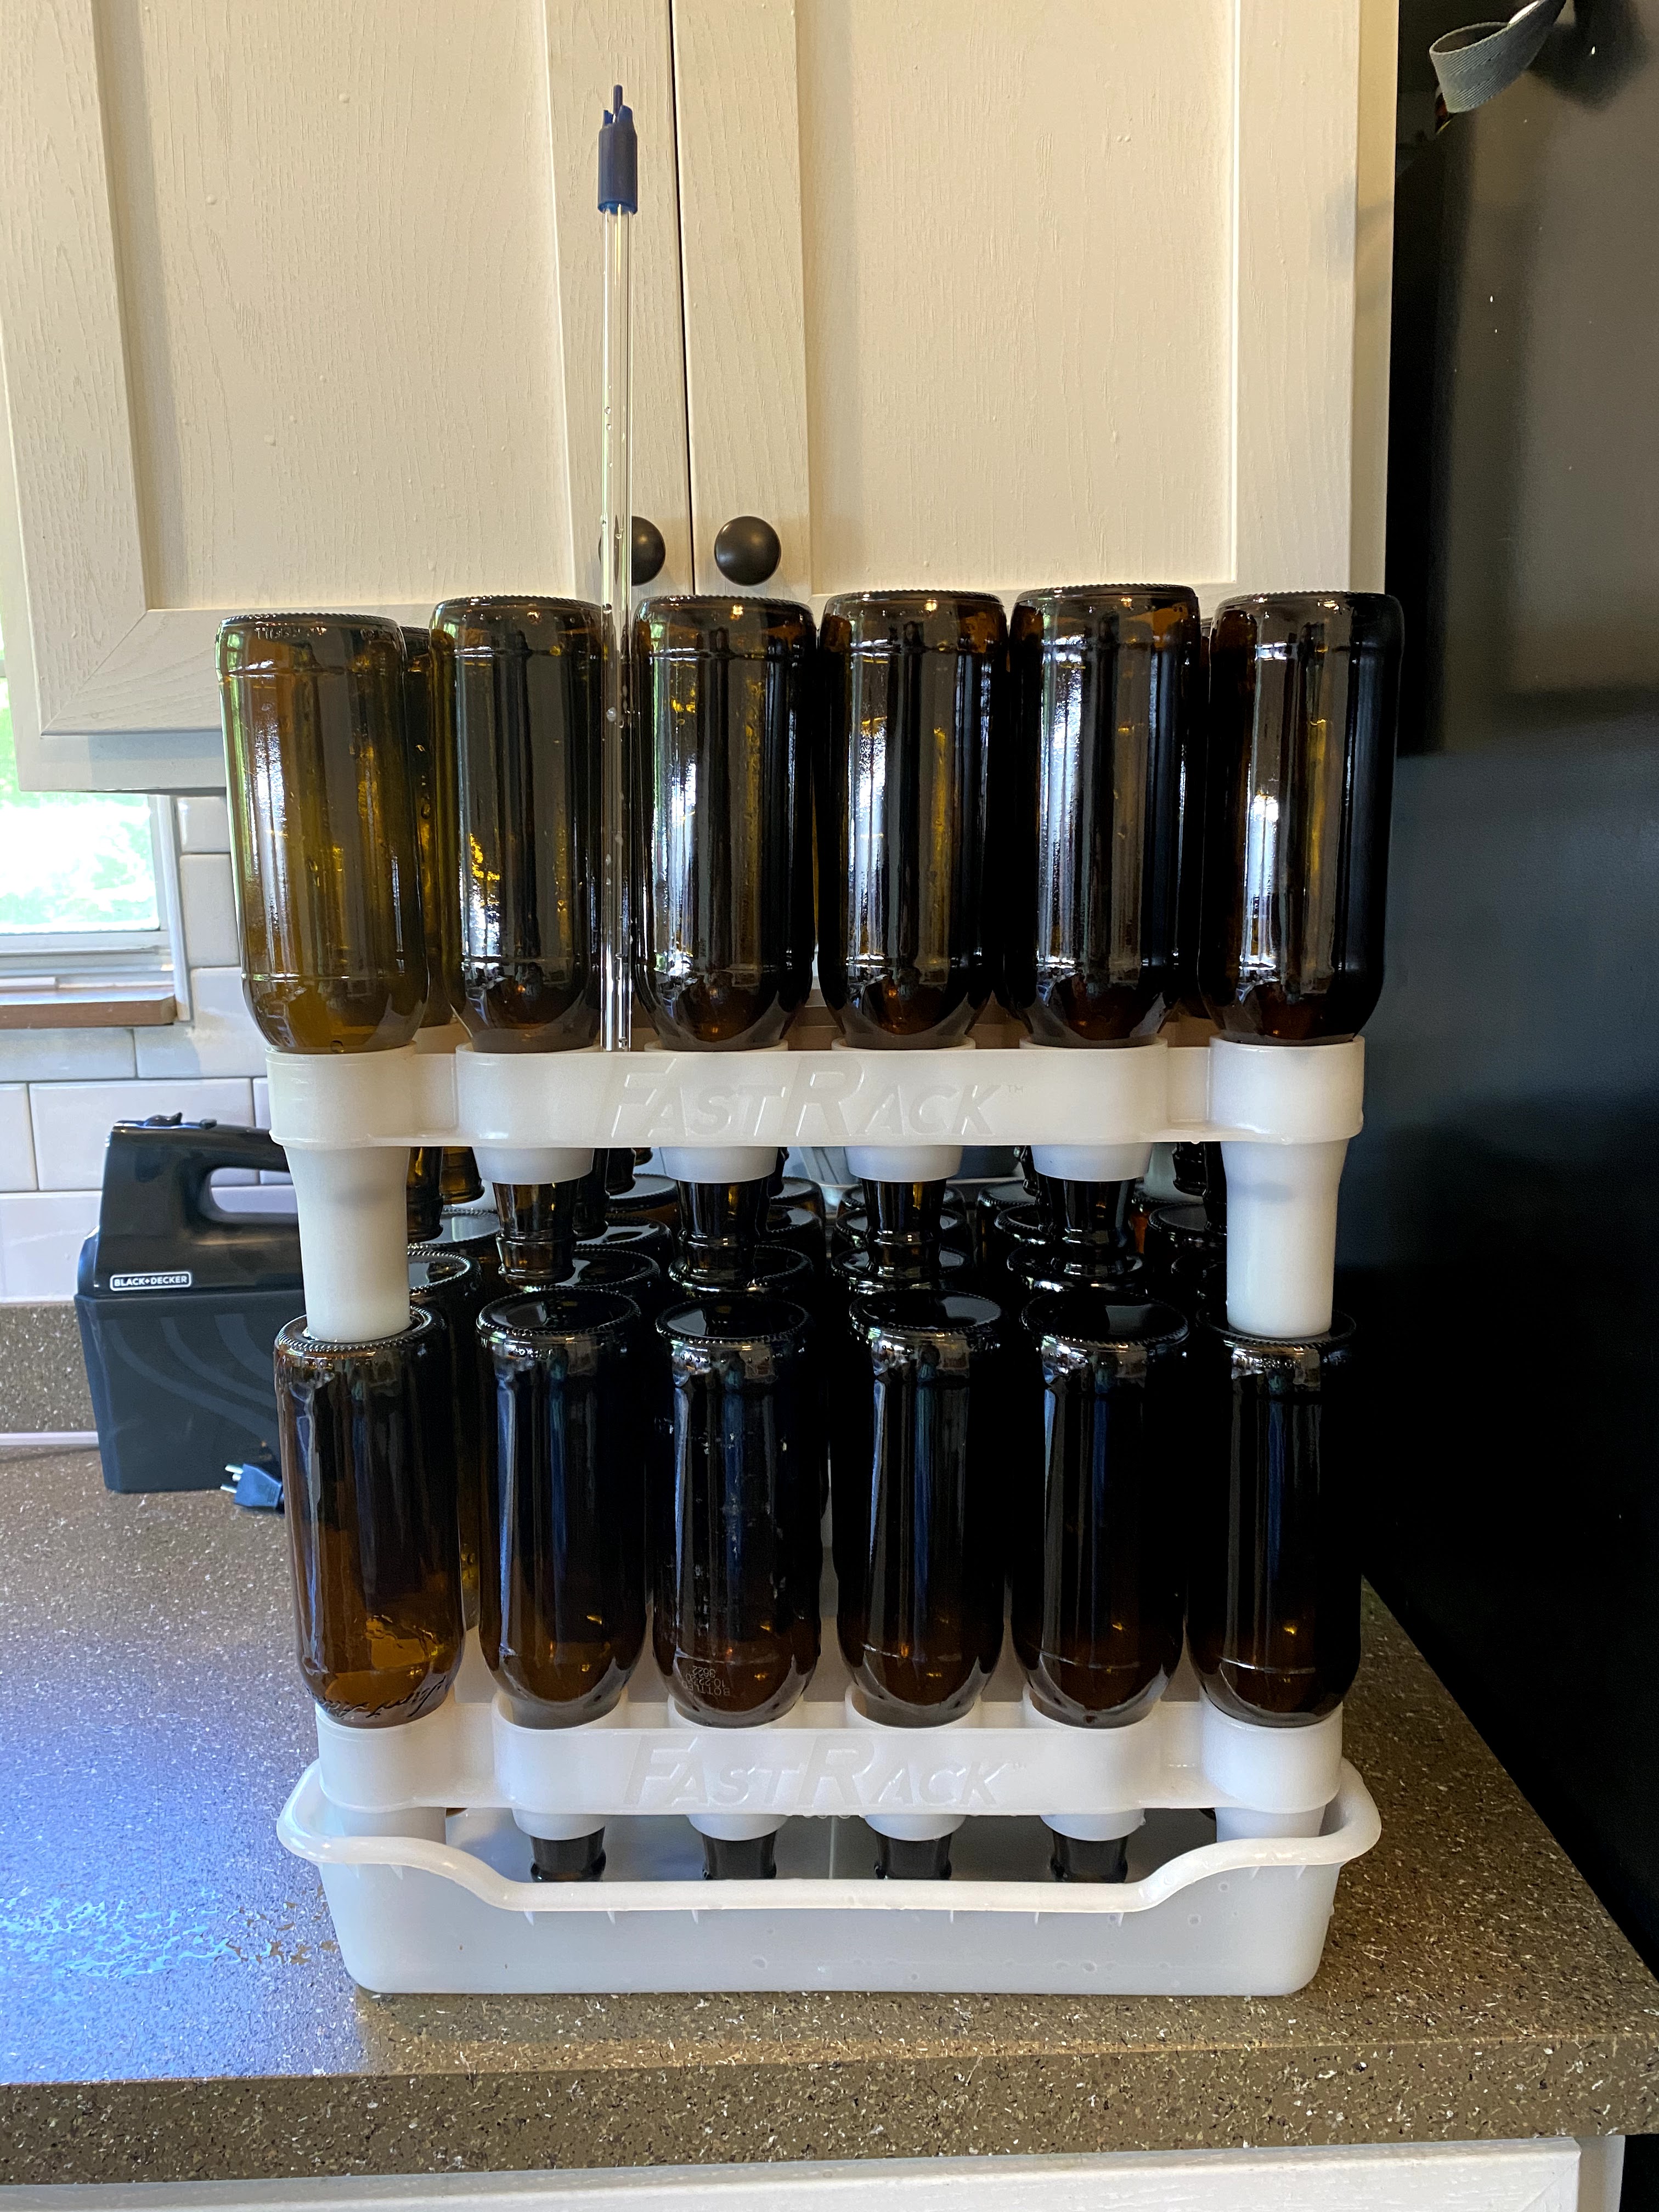
- I use a Bottle Drying rack after cleansing bottles – I bought the FastRack from Northern Brewer (pictured below)
- Put some sanitized water in a spray bottle to get to those harder to reach areas.
Step 2: PRIMING SOLUTION – CARBONATION
Carbonation drops
- When I first started brewing I used the carbonation drops. These are great for beginners because they are easy to use and good for small batches of beer. You literally just drop one carbonation tablet in the bottle with the beer and let the tablet do the rest.
- I initially got these with a one gallon recipe kit from Northern Brewer but eventually switched to using sugars for carbonation. I believe I did this because it was actually hard to get my hands on carbonating drops at the time and they were always out of stock (I’m not sure how the stock is these days. Like I said, I have switched to carbonating with sugars)
Carbonating Sugars
- Measurements for 5 gallon batch….
- Corn Sugar – 2 cups of water and 2/3 cup corn sugar
- Table Sugar – 2 cups of water and 5/8 cup table sugar
- These are the main sugars but almost any types of sugar can be substituted for carbonation.
- The simple instructions for this mixture are
- Mix sugar and water together in a pot.
- Bring mixture to a boil.
- Once boiling, remove from heat and allow mixture to cool.
- Once mixture has cooled, add mixture to the bottling bucket.
- Add beer to bottling bucket. (see step 3)
STEP 3: TRANSFERRING BEER TO BOTTLING BUCKET
Auto Siphon, Racking Cane, and Siphon Tubing
- After cleansing and sanitizing auto siphon and racking cane, ensure all little pieces inside the auto siphon are present and correctly put together.
- Connect the siphon tubing (ensure you have the correct sized tubing to connect to end of racking cane)
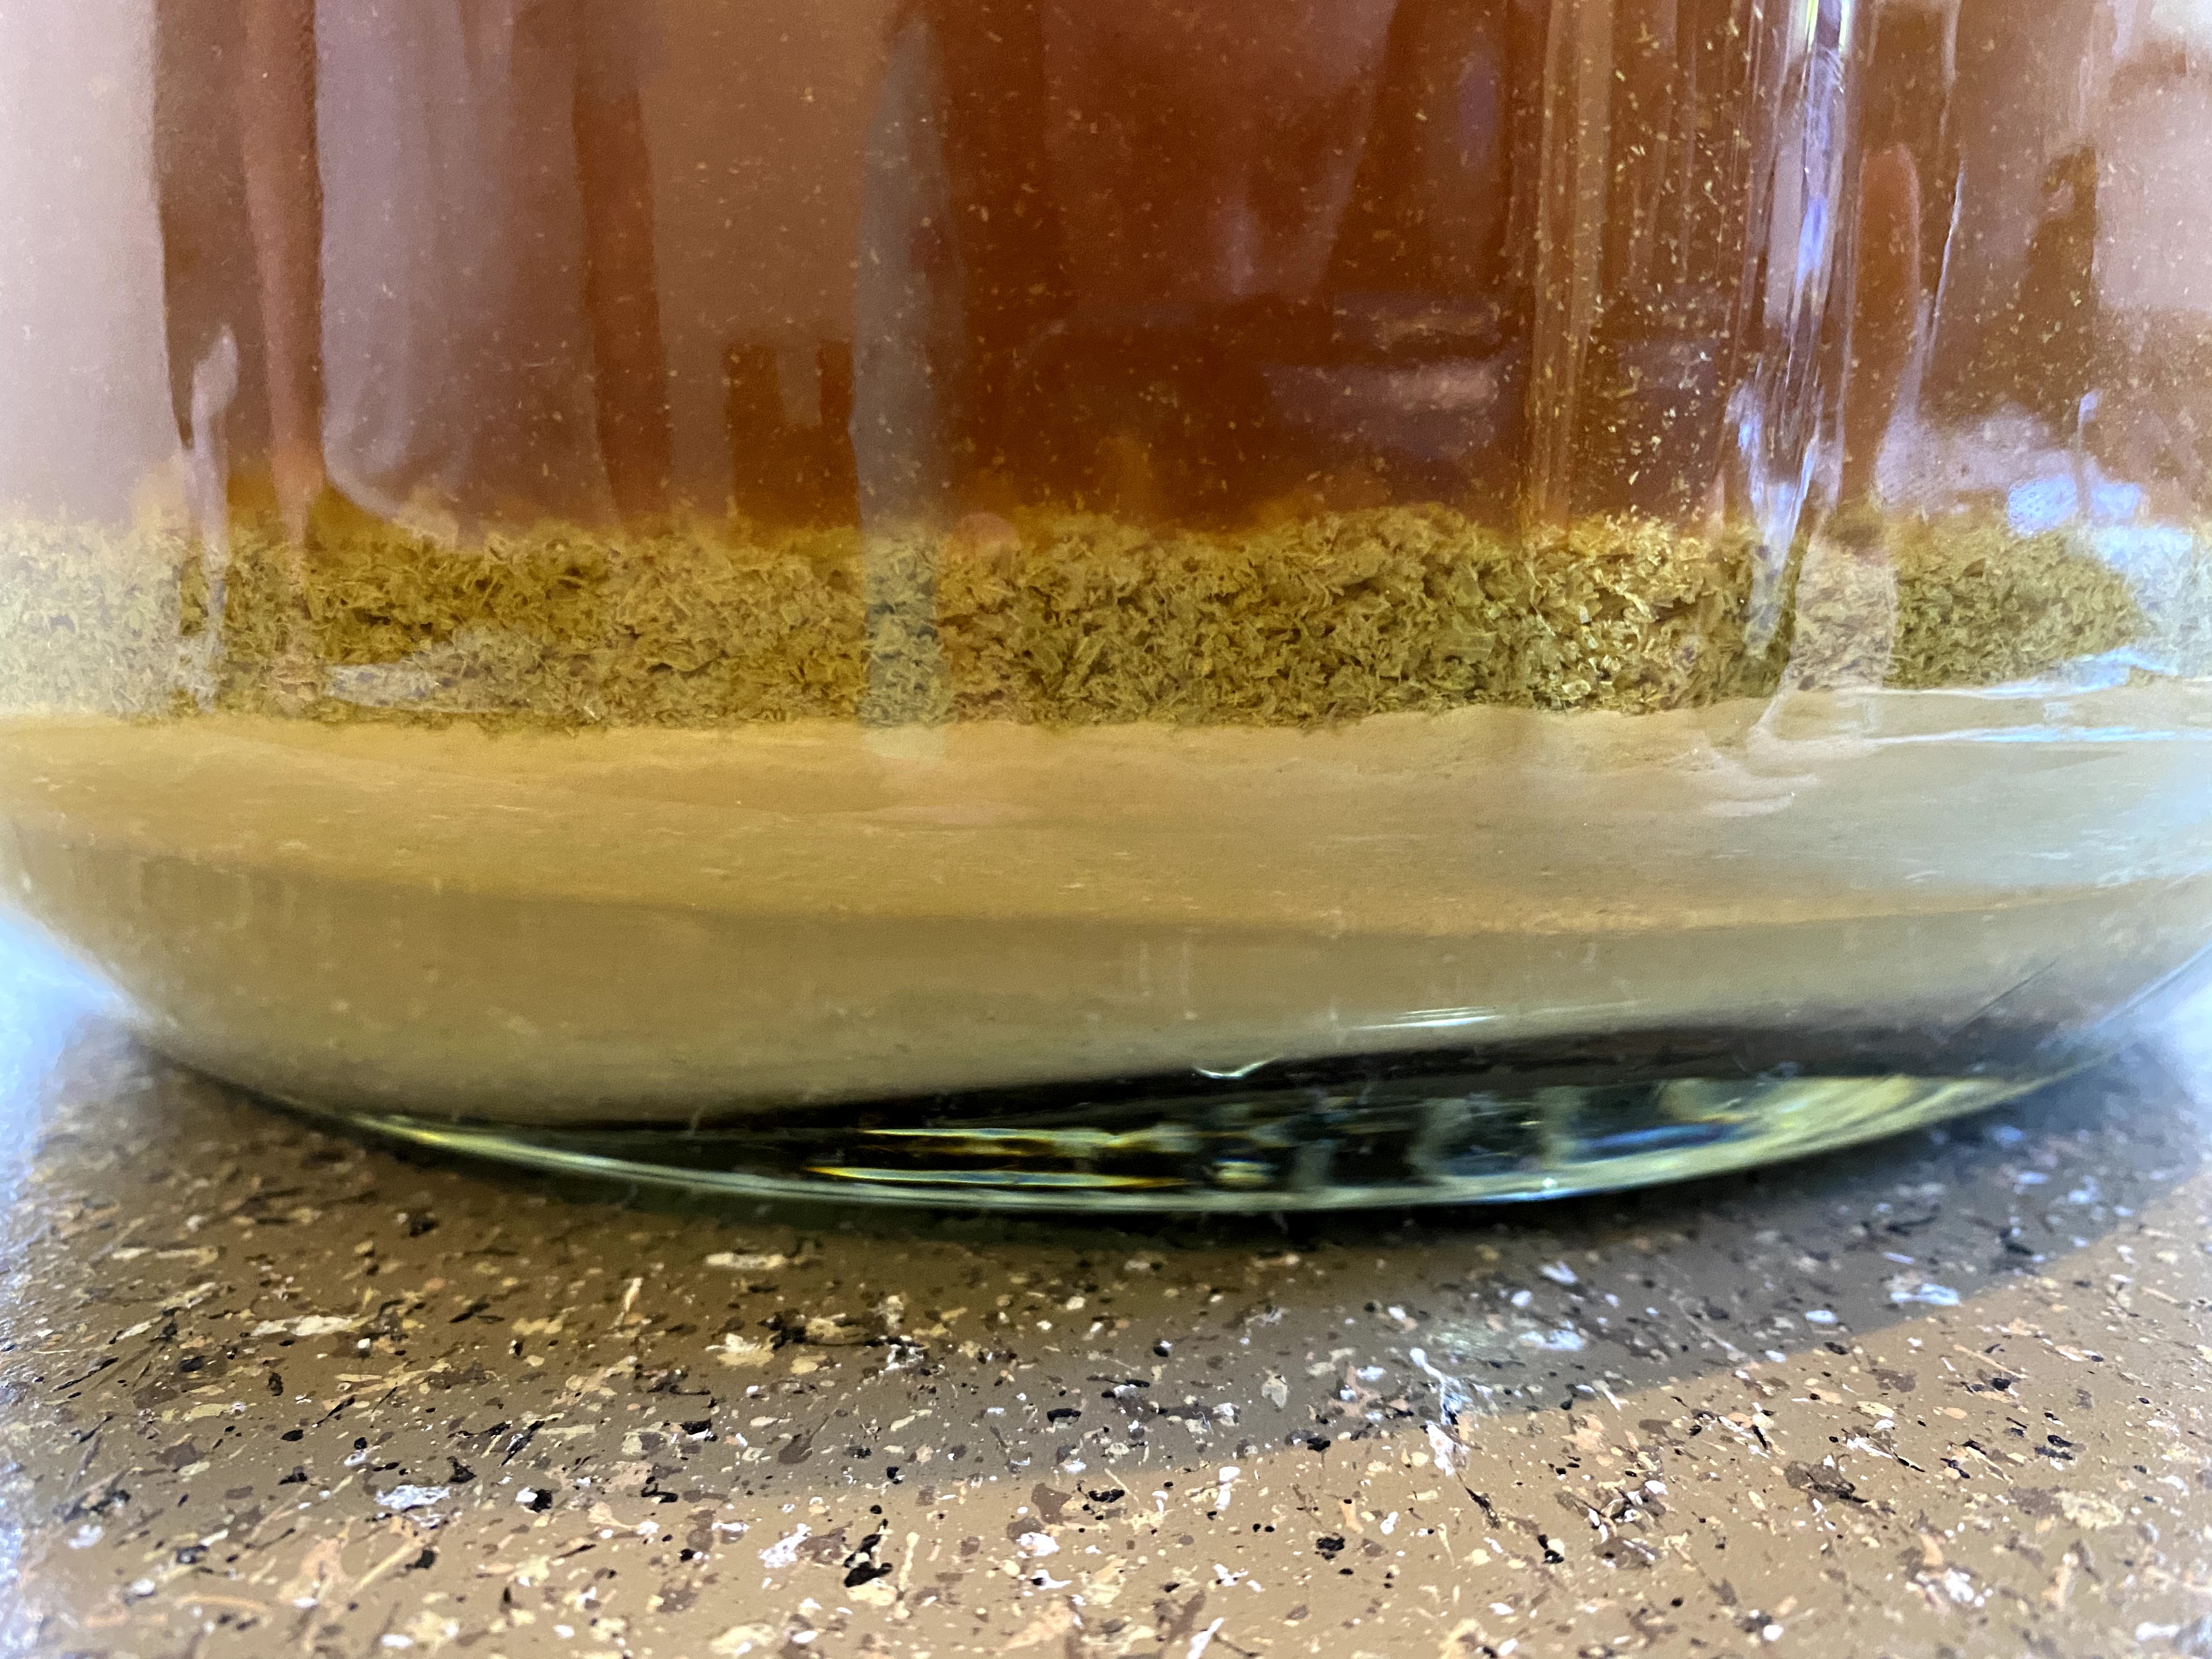
- With the racking cane side up, place the end of the auto siphon into your beer,
- Be sure to not stick the end of the siphon in the sludge at the bottom as it will clog quickly.
- Begin pumping beer into bottling bucket until all beer is in bottling bucket.
- Gently stir beer with priming sugar solution.
- *** this method is cheap but not particularly easy and is quite time consuming, I prefer the method below
Transfer Pump
- Link to transfer pump: https://www.northernbrewer.com/products/anti-gravity-transfer-pump
- Same idea as the auto siphon as far as transferring beer to bottling bucket. The best part about the transfer pump however is that you do not have to manually pump the beer into the bottling bucker. Simply connect siphon tubing to each end of the transfer pump and switch the device on.
- You will still need a racking cane specific for the transfer pump on the end pumping the beer from the fermentation vessel.
- Pros
- Quicker and Easier.
- Easy to sanitize and clean initially, run solution through pump.
- Will take approximately 1/4 of the time it takes to do manually.
- Cons
- More Expensive.
- More difficult to clean when clogged.
- Despite the cons I still definitely prefer and recommend this method.
STEP 4: FILLING AND CAPPING BOTTLES
Filling
- Before transferring beer into bottling bucket, be sure that the spigot is tightly attached to the hole at the bottom of the bucket.
- I usually attach a short tube and bottle filler wand to the spigot because filling bottles can become quite messy and I’ve found this to be the cleanest method.
- Fill bottles leaving a little space at the top of the bottle.
- Proceed to capping.
Capping

- Make sure to clean/rinse and sanitize your bottle caps.
- After filling the bottle with beer, place bottle cap on lip of beer and secure with bottle capping device.
- My bottle capper is pictured to the left with a bowl of sanitizing water filled with bottle caps I purchased from a brewing supply store.
STEP 5: STORING AND CONDITIONING
- After filling and capping my beer I place the bottles in a box for storing beer bottles (honestly the best way to get your hands on these is by buying variety bottle packs) and return the beer back to it’s fermentation location. Keep it at room temperature and around the same temperature your beer was at during fermentation.
- Condition the bottles for the recommended amount of time based off the type of beer you are brewing (Usually 1 week to a month)
Disclaimer: Again I am an amateur home-brewer and an amateur blogger. If there is something you disagree with in this post I would love to hear some constructive criticism. Or comment your own tips and tricks!
References: Northern Brewer: Home Brewing Supplies https://www.northernbrewer.com/
